
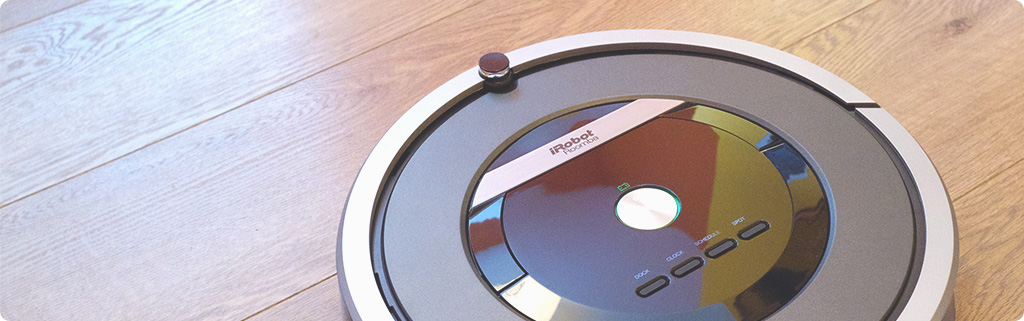
The cleaning robots are already in our homes. Modern models such as Roomba are able to free us from the need to fight with a traditional vacuum cleaner and enter into our cleaning schedule. The robot will do it itself, even when there is no one at home.
With dedicated apps, you can set the way, mode, power and hours when the vacuum cleaner will do the job. As a result, all you have to do is press a button to find the perfect apartment when you get back from work.

Despite the high performance, the batteries eventually wear out. This is reflected in ever shorter working hours. In order to restore our vacuum cleaner to its full capacity it is necessary to replace it. How to get down to it? We will show you what this process looks like with the example of the already mentioned Roomba.
We choose the right battery
The process of finding the battery and replacing it is not complicated. At the beginning we have to check the exact model of the device. It is located on the nameplate – you will find it on the bottom of the vacuum cleaner (it is a sticker or printed text). In the case of Roomba, it is still worth checking the type of cells that are used. To do this, remove the battery (for detailed instructions, see Battery replacement step by step) and check the type of cells on the sticker – this is either Ni-Mh or Li-Ion. The new battery must have the same cell type as the previous one, otherwise it will not work with the charger. Selecting a different type of battery results in Error 5 charging error.
Once we have a model of the device we enter it in our search engine and choose the appropriate product. In our offer we often have more than one battery variant. They differ in capacity – the bigger it is, the longer the working time without the need to charge. In the case of Roomba, the original battery has a capacity of 3000 mAh, and in our offer you will find batteries with a capacity of up to 4500 mAh, which gives 1.5 times longer operation! This is a great solution for people who use the vacuum cleaner on a large area – thanks to it the device will not go back to the docking station. Once we have chosen the right battery, add it to the basket, place an order and wait for the delivery 🙂.
Step by step battery replacement
Once we have the battery, we can go to the replacement itself. We’ll just need a crosshead screwdriver. Let’s get started!
- Turn the vacuum cleaner around.

- Unscrew the screws that hold the battery. On older Roomby models, you’ll need to remove the entire lower case, including the brush retaining screw.
- Remove the battery. This is easy to do, thanks to the straps on the sides – grab them and pull out the battery.
- We mount the new battery in the same place. Remember that the logo must be pointed at the top.
- We screw back all the mounting screws.
- Ready!


 This is easy to do, thanks to the straps on the sides – grab them and pull out the battery.
As you can see, the process of changing the battery is very easy and each of us will manage without any problems. Below you will also find a video showing all the steps listed.
The vacuum cleaner is ready to go
Your vacuum cleaner is ready to go. Thanks to the new battery, it can cope with any dirty surface in your home. During this time you’ll be able to do a lot more fun activities like reading a new detective novel or watching your favorite TV show.
Author: Michał Bródka
Pictures: iFixit.com