
A UPS is a device whose purpose is to maintain power supply during a power failure. The principle of operation is very simple – when there is a power outage, the emergency power supply equipped with a battery or a set of batteries takes over as an outlet. Depending on current consumption, number and size of batteries, the UPS can maintain power supply from a few to several dozen minutes.
Like any battery-based device, the UPS also has a specific lifetime. As the batteries are used, they will gradually lose their strength, the back-up time will slowly decrease and the UPS will eventually cease to perform its function. However, this natural course of things does not necessarily mean that the life of a UPS is over, as it is very easy to restore it to full capacity and even increase its capabilities!
We are of course talking about replacing the batteries. Most emergency power supplies on the market allow for very easy access to the battery slots and battery replacement. Today we will show you step by step how to replace the batteries in a UPS.
How to choose a new battery for your UPS?
Usually these devices work on AGM batteries. In order to find a suitable model, we have to check first of all the dimensions and the capacity of the batteries that were factory-fitted in the UPS, expressed in a few hours (Ah). The voltage will always be 12V, so we do not have to worry about that. To check these values, we need to look inside the device. Usually it takes a few screws to get to the batteries and remove the casing, but that’s about to happen.
Changing the battery in the UPS
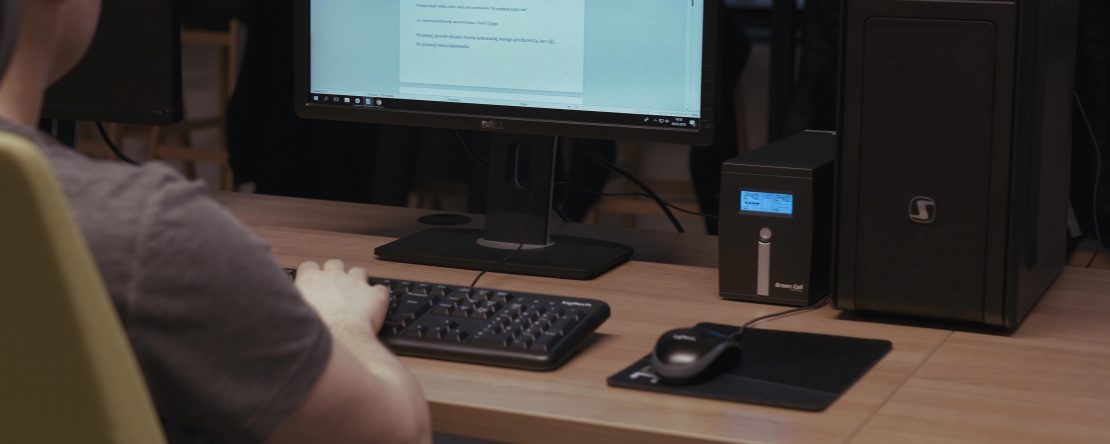
Once we have new batteries, it’s time to replace them. At the very beginning, I must point out that care must be taken when replacing them. Incorrect procedure can lead to an electric shock. But the process is not complicated, so don’t worry. Let’s get to the point, the replacement will be presented step by step on the example of the Green Cell 800VA UPS.
- Here is the Green Cell UPS02 800VA. This is a line-interactive emergency power supply for use with e.g. one computer set. Let’s start the replacement!

- Remember that you should first disconnect the UPS from the socket. Then turn the device to get to the screws on the bottom of the case. Remove all 4 screws.

- After unscrewing the screws, return to the original position and remove the plastic casing.
- We find the battery. Now it is time to remove the additional plastic lock and disconnect the wires.
- Once the wires are disconnected, we can safely remove the battery from the socket.
- As you can see in the picture, the socket has exactly the same dimensions, so it is very important to choose a new battery. After removing it, we replace the battery with a new one and connect the wires according to their color.
- The only thing we have to do is to assemble the housing and screw it in. That’s all, we managed to replace the battery in the UPS and restore it to full efficiency!


Remember that used batteries should be disposed of only at designated points!
What else can you do to improve the efficiency of your UPS?
Replacing used batteries will definitely increase the emergency back-up time, but what if we need even longer? To achieve this, we have two outputs:
- Buying a larger UPS
- Adding more batteries
We have already discussed the first issue in the text How to choose a UPS? The second one will be discussed soon in the text entitled “Adding batteries to a UPS.
Author: Krzysztof Wołongiewicz